The model developer, Shuiyuerufeng, remembers watching Doraemon when he was a child. There is a magical machine in one episode. What it needs can be printed out. It is exactly the same as the real one. The only difference is that the proportion is very small. Shrinking machine can reduce the use of people.
Hey ~~~~~~~ It's awesome, so that my little loft doesn't become a big city anymore? There can be a football field, an airport, an amusement park... I'm excited when I think about it:) At the time, I thought so, thinking, slowly, I grew up...
With the development of science and technology, many props in Doraemon have become a reality, and 3D printing has gradually begun to approach the homes of the people from the very beginning with cutting-edge technology. This time, Yi Xun's 240-year measurement project is actually such a Hori 3D printer. I did not hesitate to fill out the application form. After a long and exciting wait, I finally received a notification. I am one of 5 lucky guys! Although it is necessary to pay a deposit of several thousand yuan, this can be levied on a million-dollar machine, and as long as the full assessment report is given on time, it will be returned. (It is estimated that before someone took the goods, it will not be assessed, but it should be avoided:)
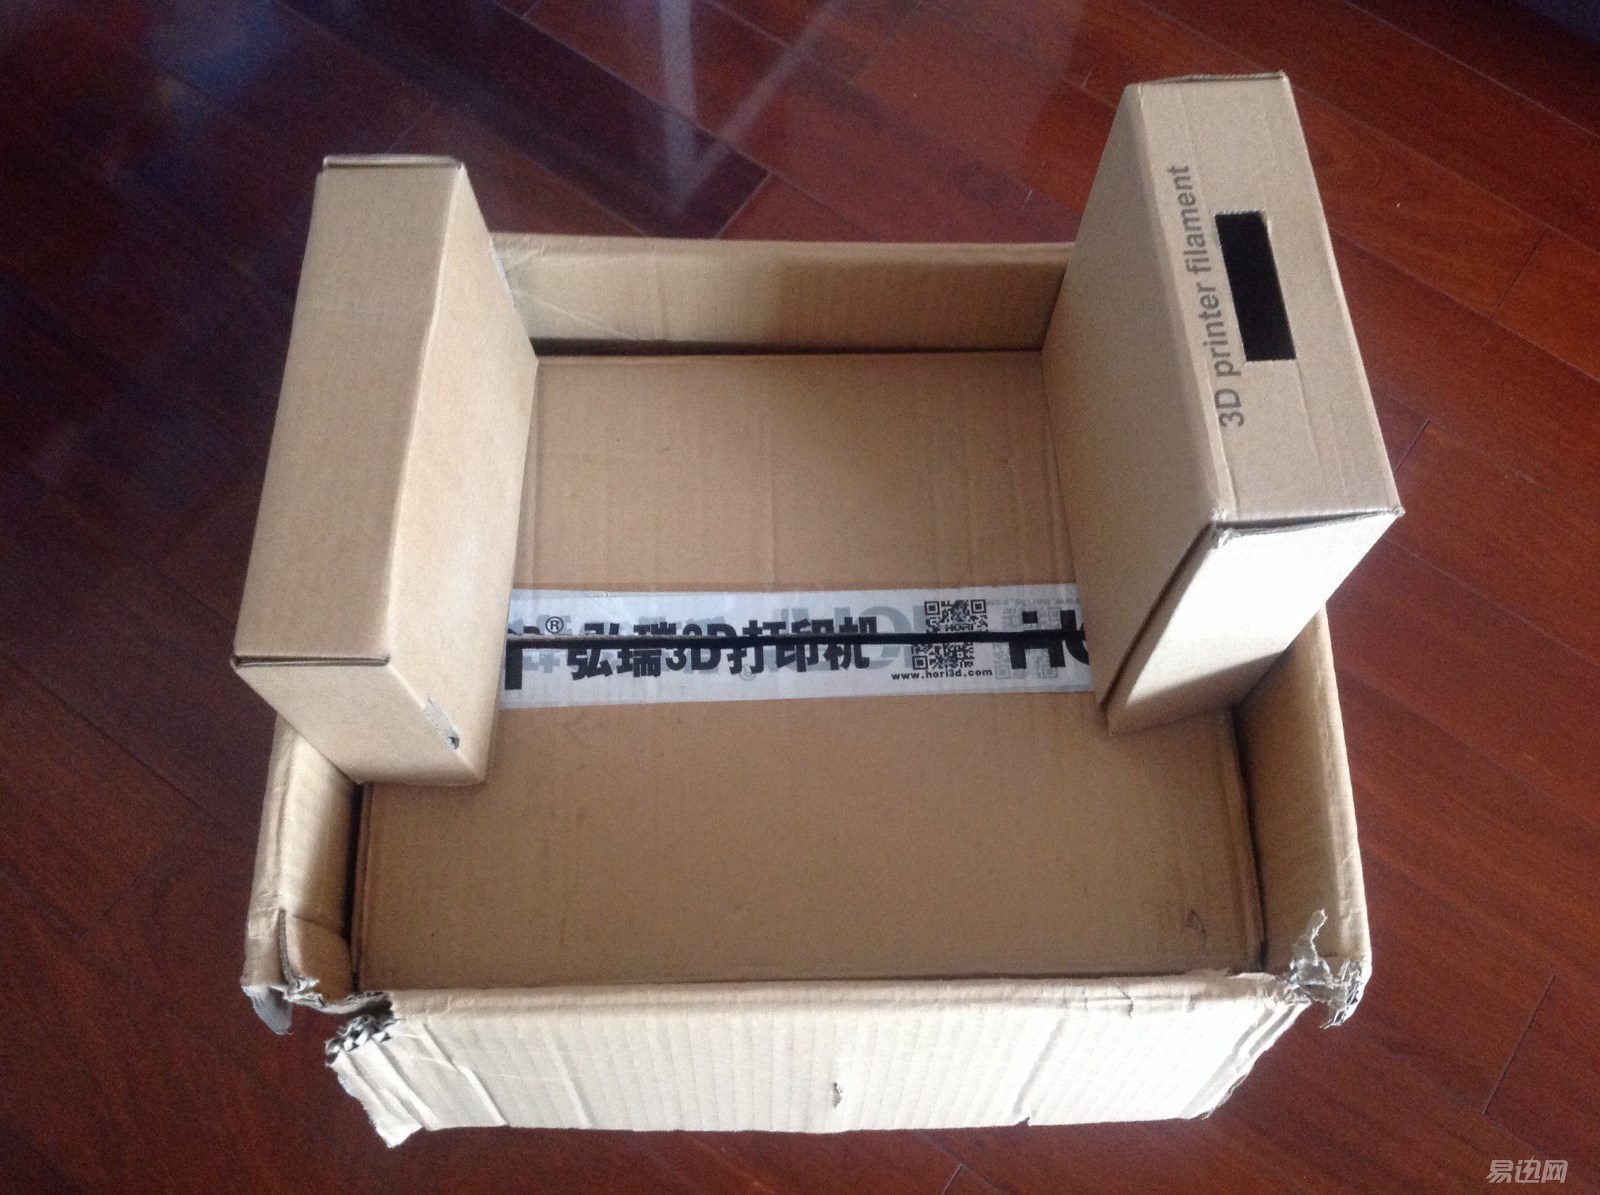
After a long wait, on a Friday night, I dragged my tired body back home. The family told me that there is a 17 kg express delivery. Nani? Am I scouring so much to eat? (The deaf is a food item. Every three to five years, you have to go home to pick up some food. You don't always have to eat instant noodles when you watch soap operas?)
Sure enough ... ... big, so good ... ... open to see, wow, the original is thinking about the Hong Rui (Hori) 3D printer sauce! Oh, I feel very good immediately:)
Adhering to the usual style of eating goods, let's take a look at everything:
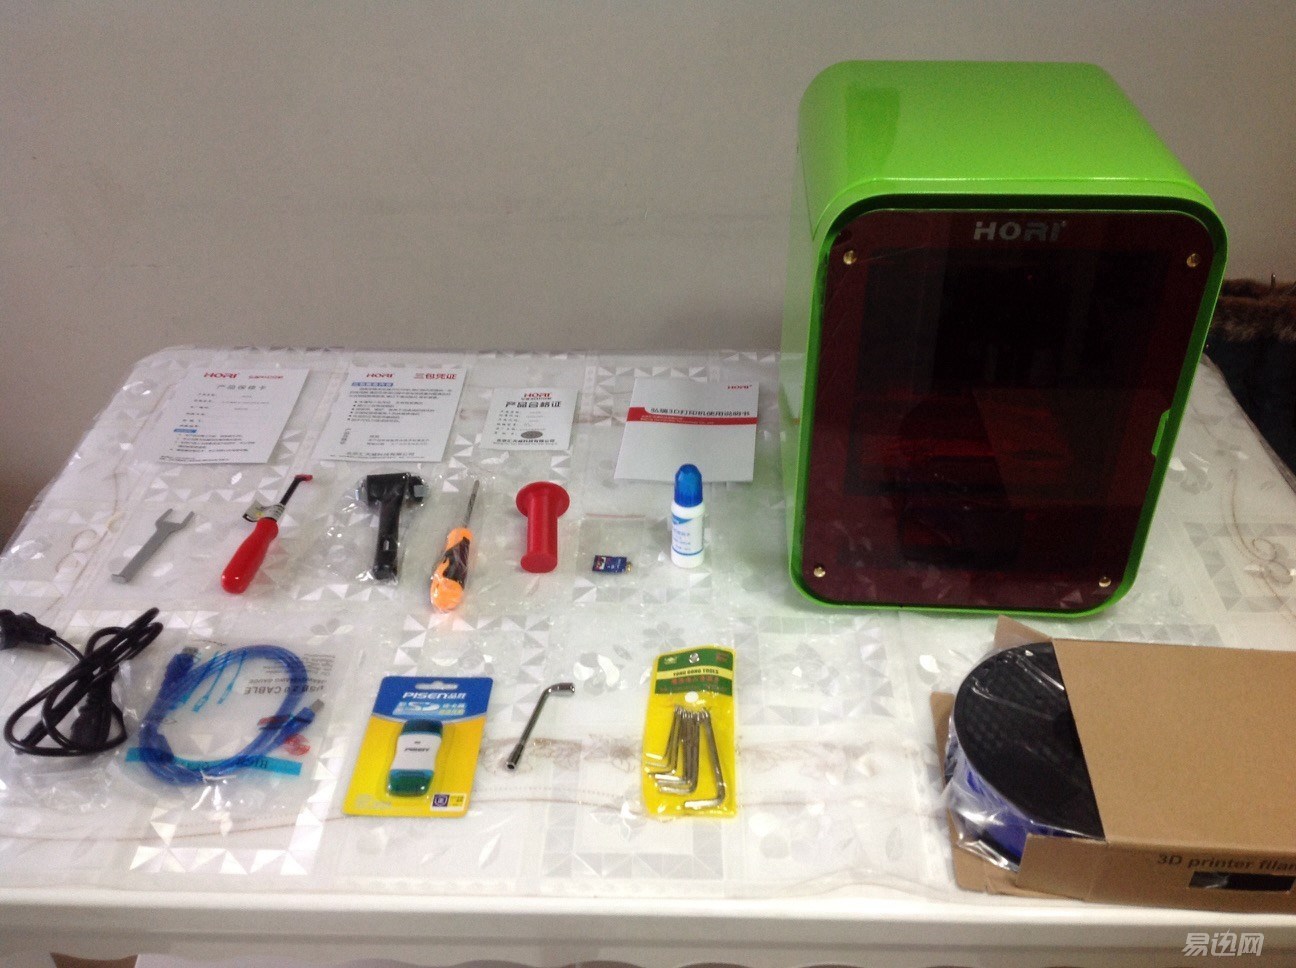
Well, the top row is the warranty card, the three-pack certificate, the certificate and the instructions.
The second row consists of a wrench, a trowel handle (squeezing the printed model down), a roller (evenly spreading the glue), a screwdriver, a bucket hanger, a small bag with SD card and a spare print head, and glue. Then on the far right is our Hori 3D printer sauce!
The third row is the power cord, data cable, card reader, large nut wrench and a small set of nut wrenches. In the lower right corner is a box of 3D printed supplies (even this one is sent, and it's touched with a touch).
I heard that the color of each machine is different, oh, um... can you summon seven dragons?
Next, we follow the instructions (you can also insert the SD card into the card reader to see the MV of the tutorial on the computer, more intuitive), clean the platform glass plate, put it back on the platform, and then plug in the machine and click With the "Reset" key, the platform can be lifted and the corrugated pad below removed (discarded). The platform will always rise to the stop position. Because the positioning limit pin is set on the machine, the horizontal (X-axis), vertical (Y-axis), and up and down (Z-axis) will return to the initial state, do not worry about damage will be unlimited movement oh:)
However, when the machine of Shuiyue is reset, the X-axis cannot move freely (it can only move in one direction and noise will be emitted during the movement). Later, after communicating with the technicians, it is considered that the transportation process may be , this sad thing should not mention ......) cause the wire interface to loosen, fortunately in Shuiyue hands ability is also good, (after the machine is powered off, remember) to press all the interfaces once again, start again The problem is solved smoothly! It's a pleasure to listen quietly to the motion of obediently following their own instructions:)
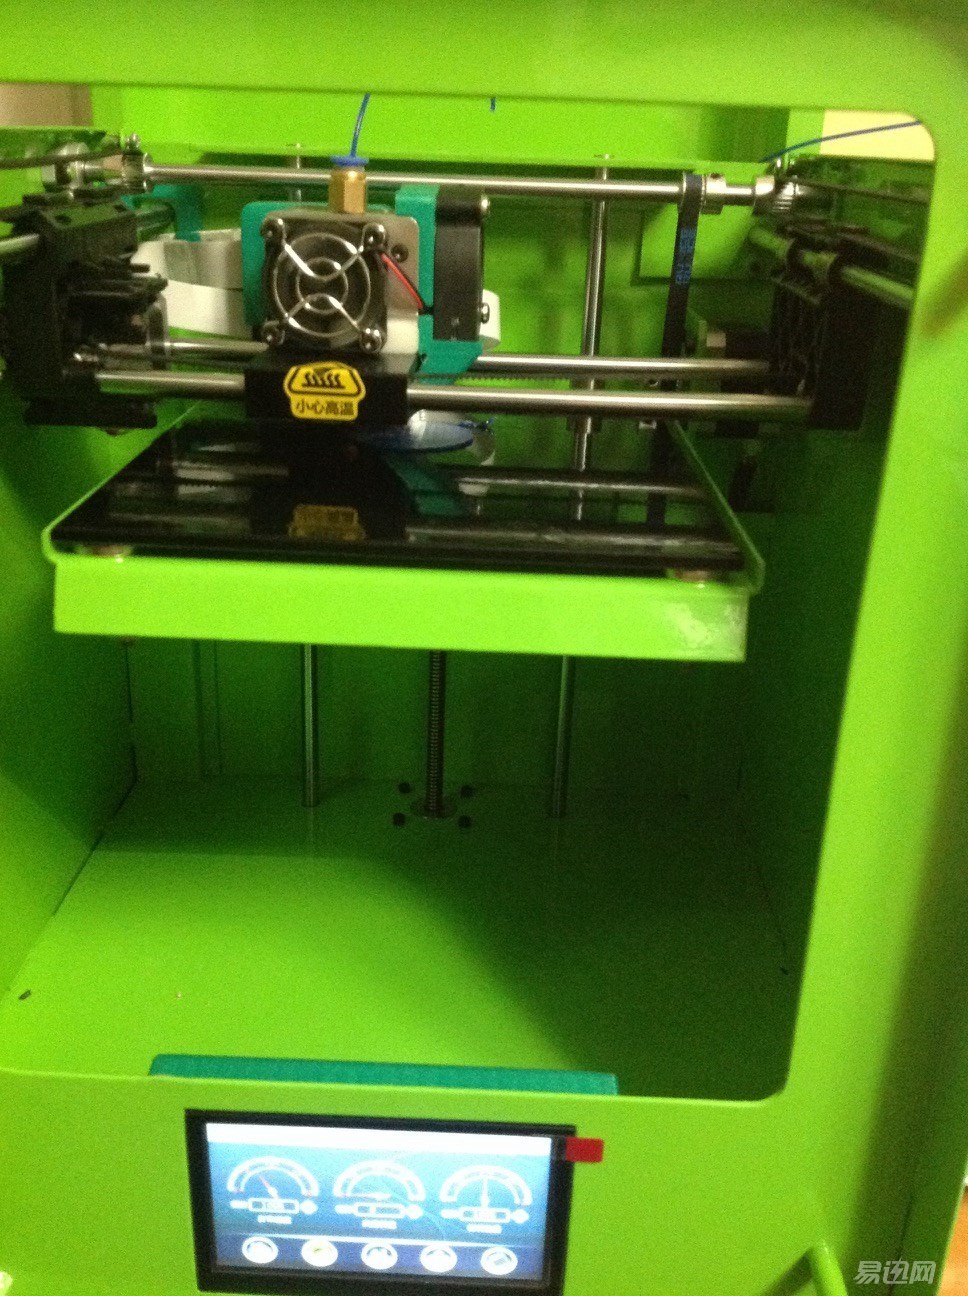
The equipment is installed, is it easy to use? According to the instruction manual, a 3D vase file is attached to the SD card, click on the corresponding file in the "SD" column, and then click the triangle's "Start" button.
...well, we can see that the page shows that the print head is starting to heat up. When the yellow line coincides with the red line, the print head starts to move to the designated start position and printing starts.
The first time you print, you don’t understand. According to the instructions, the beginning of the printing will draw a few big circles to determine if the platform is flat, but the machine seems to start printing the vase directly. Ummm... then print it...
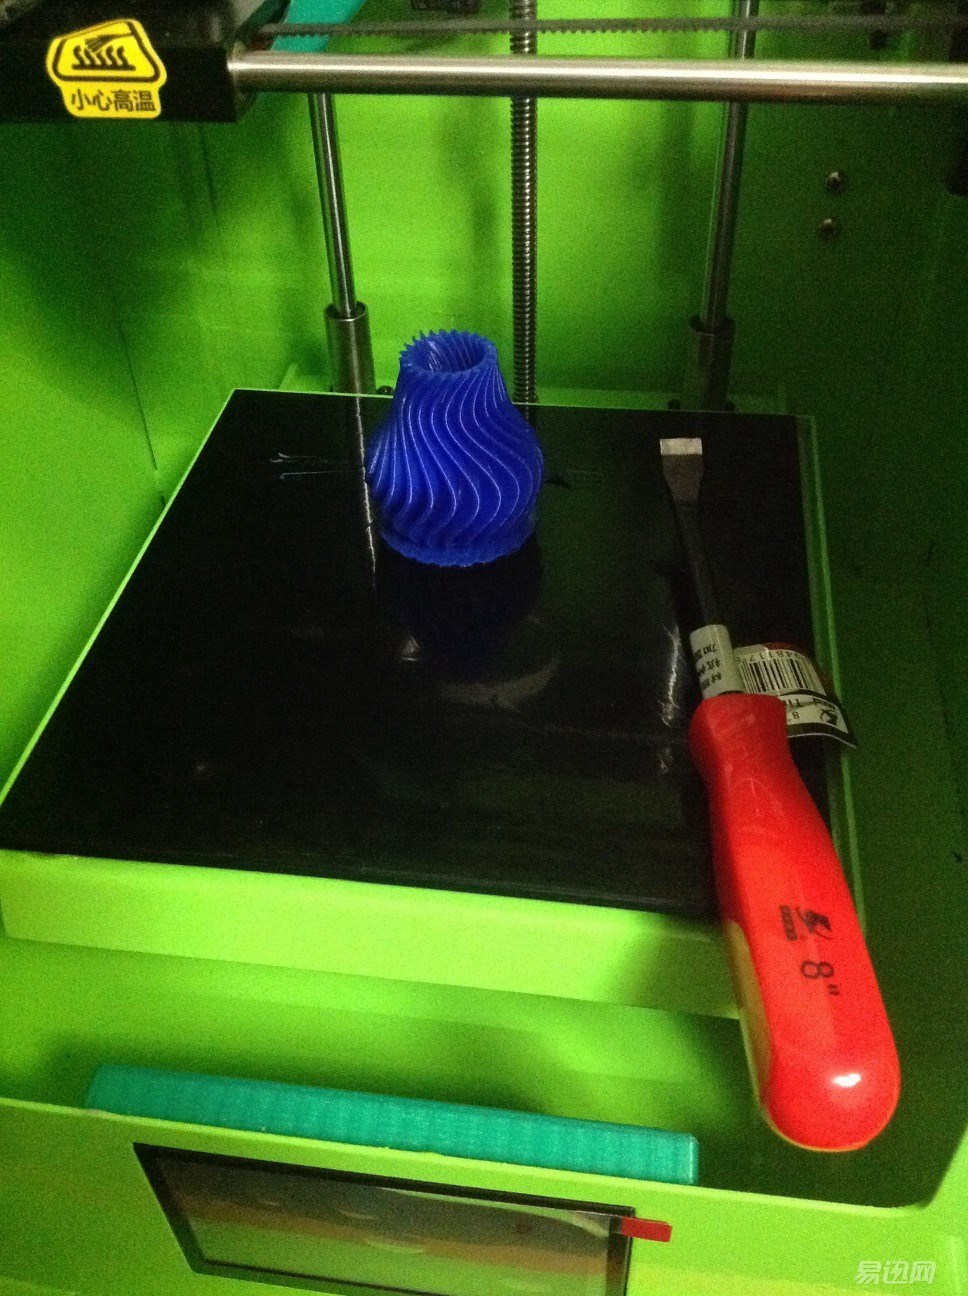
After discovering the pedestal in the vase, the printed vase began to move as the print head began to move, and the machine was suspended. It seems that because Shuiyue does not have the glue to print the relationship. So shovel out the bad vase base and clean it.
Remove the glass plate on the platform, take out the glue and rollers, and start applying the glue. For the first time use, a little bit more coating, and later experience, only need to wipe a few drops in the print area, and then use the roller to roll evenly
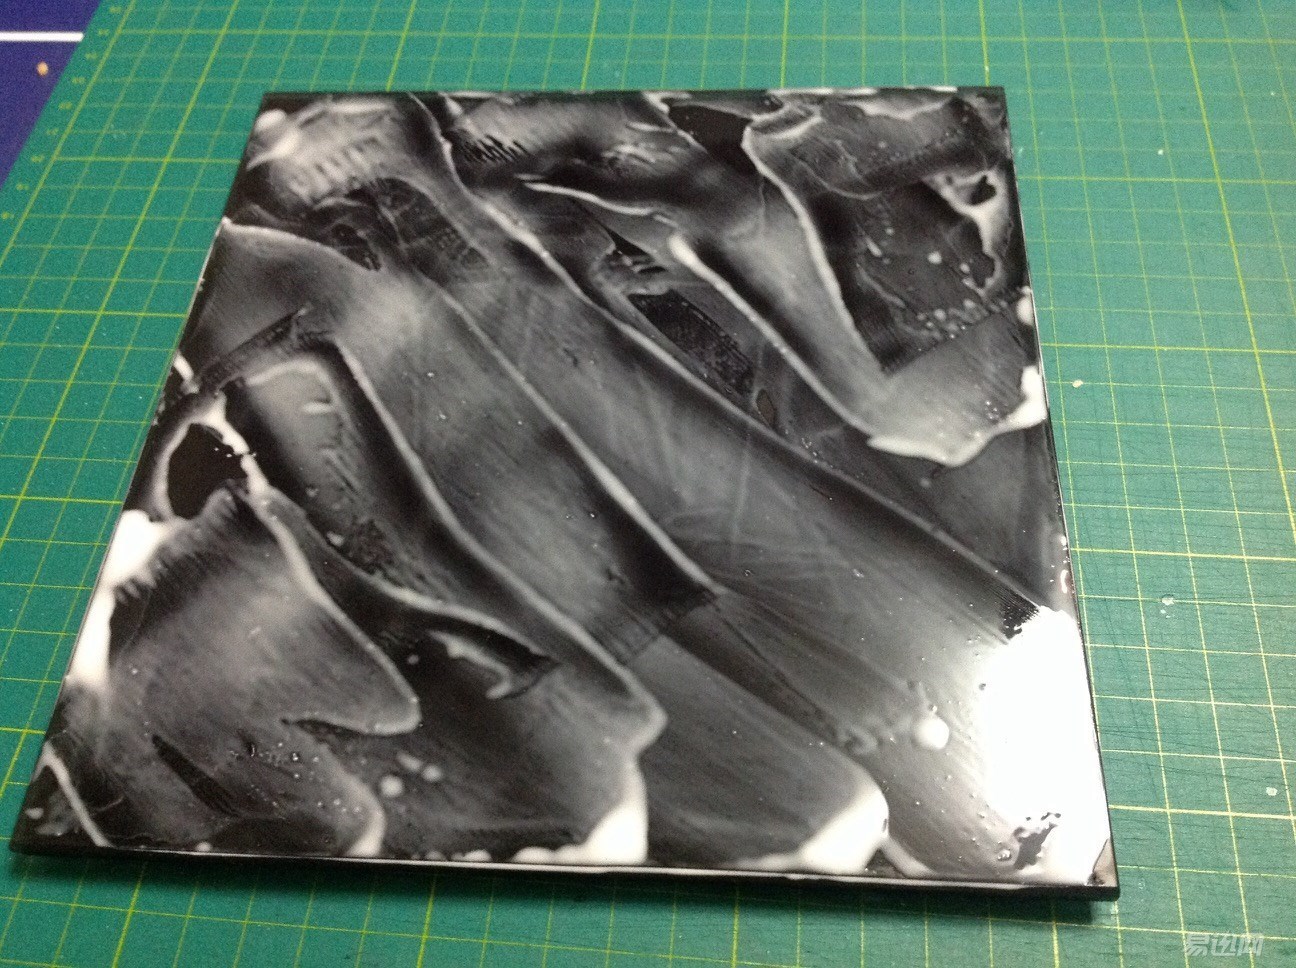
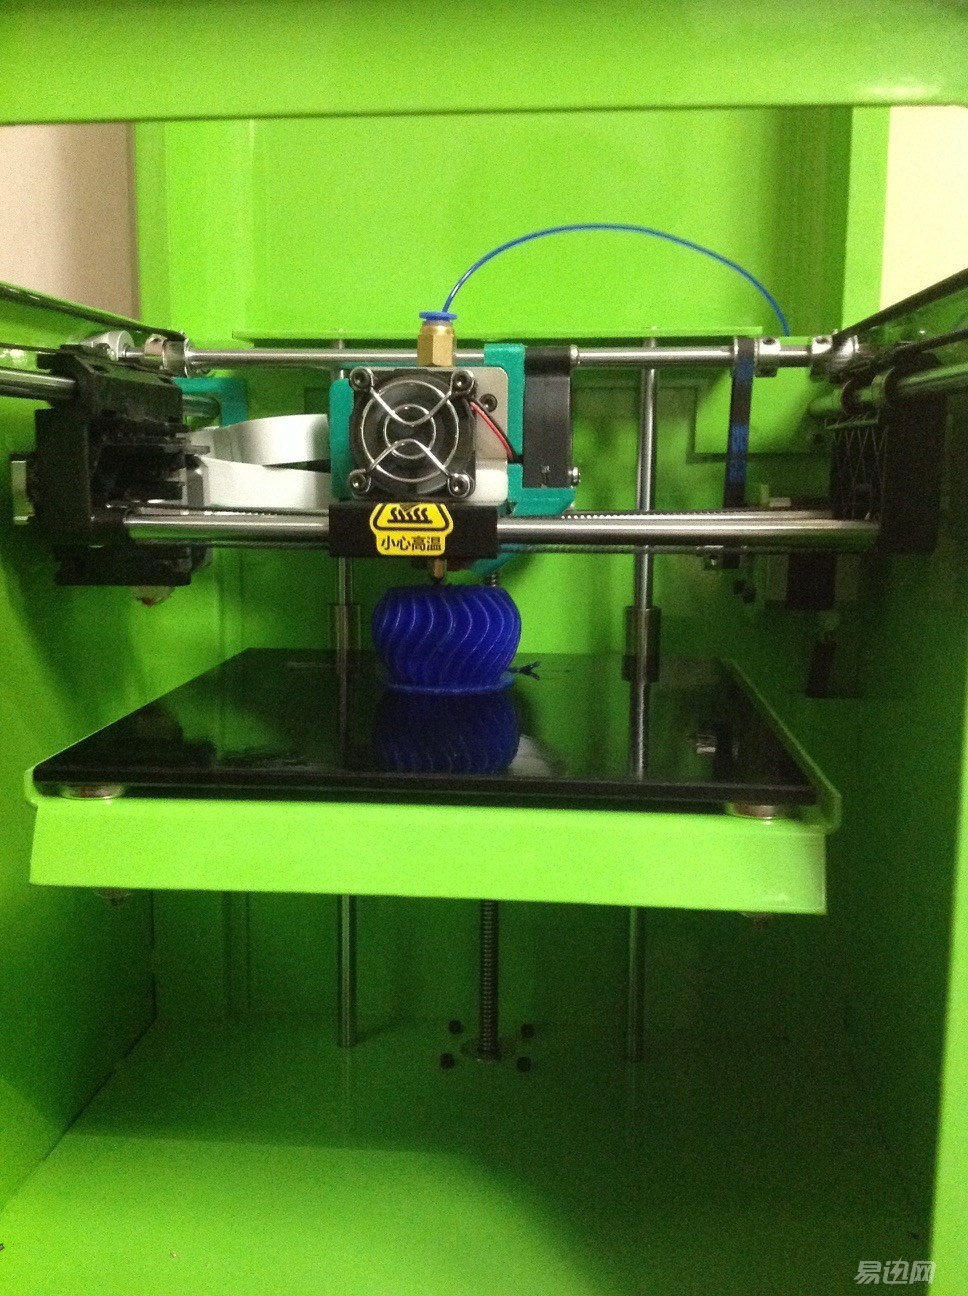
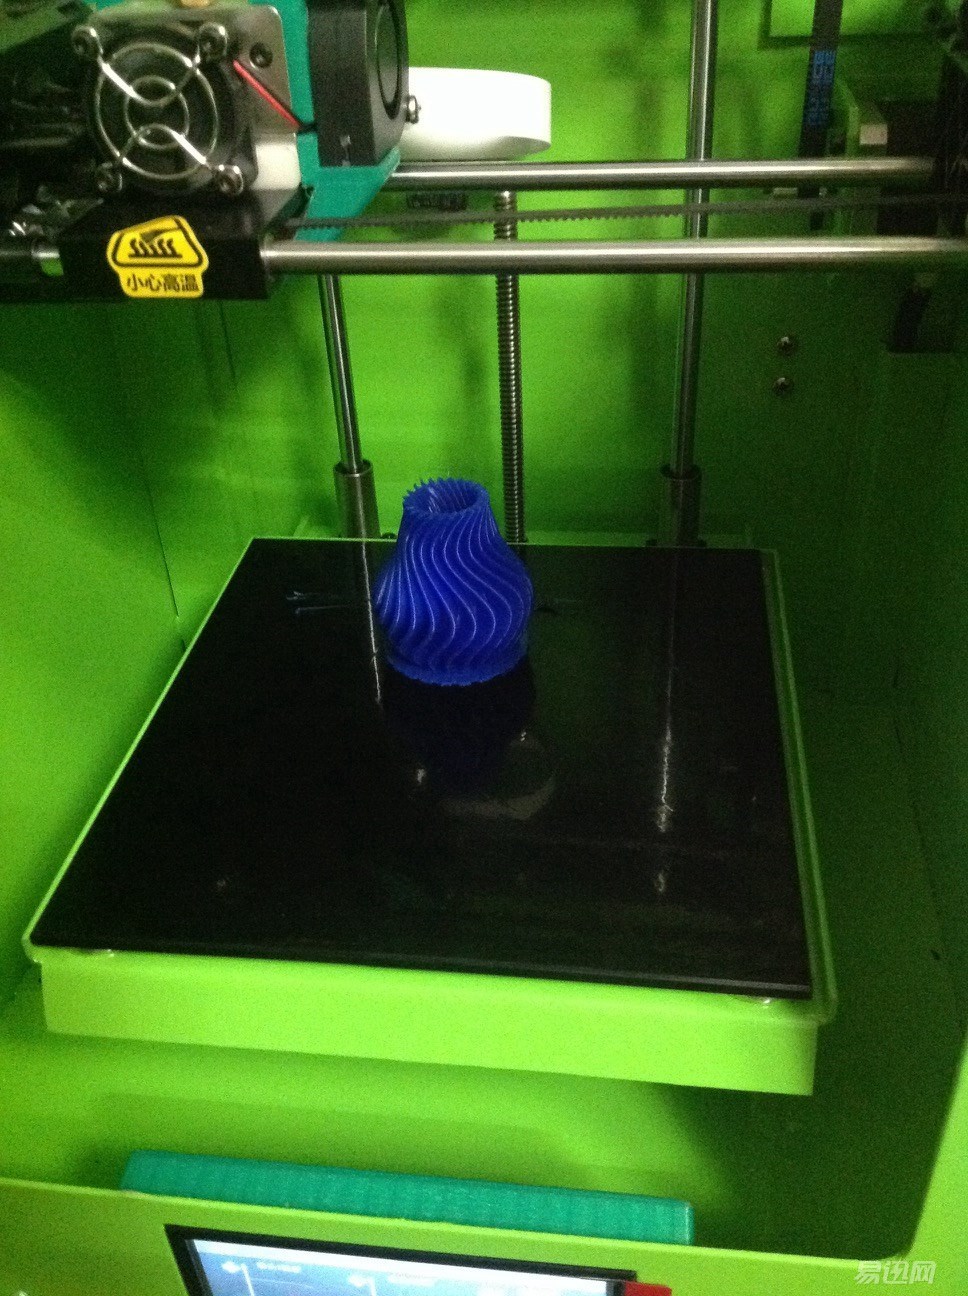
Wait about 5 minutes, the glue will dry, put the glass back to the platform. This time the print was relatively smooth. After about an hour, the 3D vase was successfully played:) Is it right?

But how can we be satisfied with just printing a few samples? Shuiyue landed on the .com website. There were a lot of 3D files shared by everyone, and immediately selected a Captain America shield.
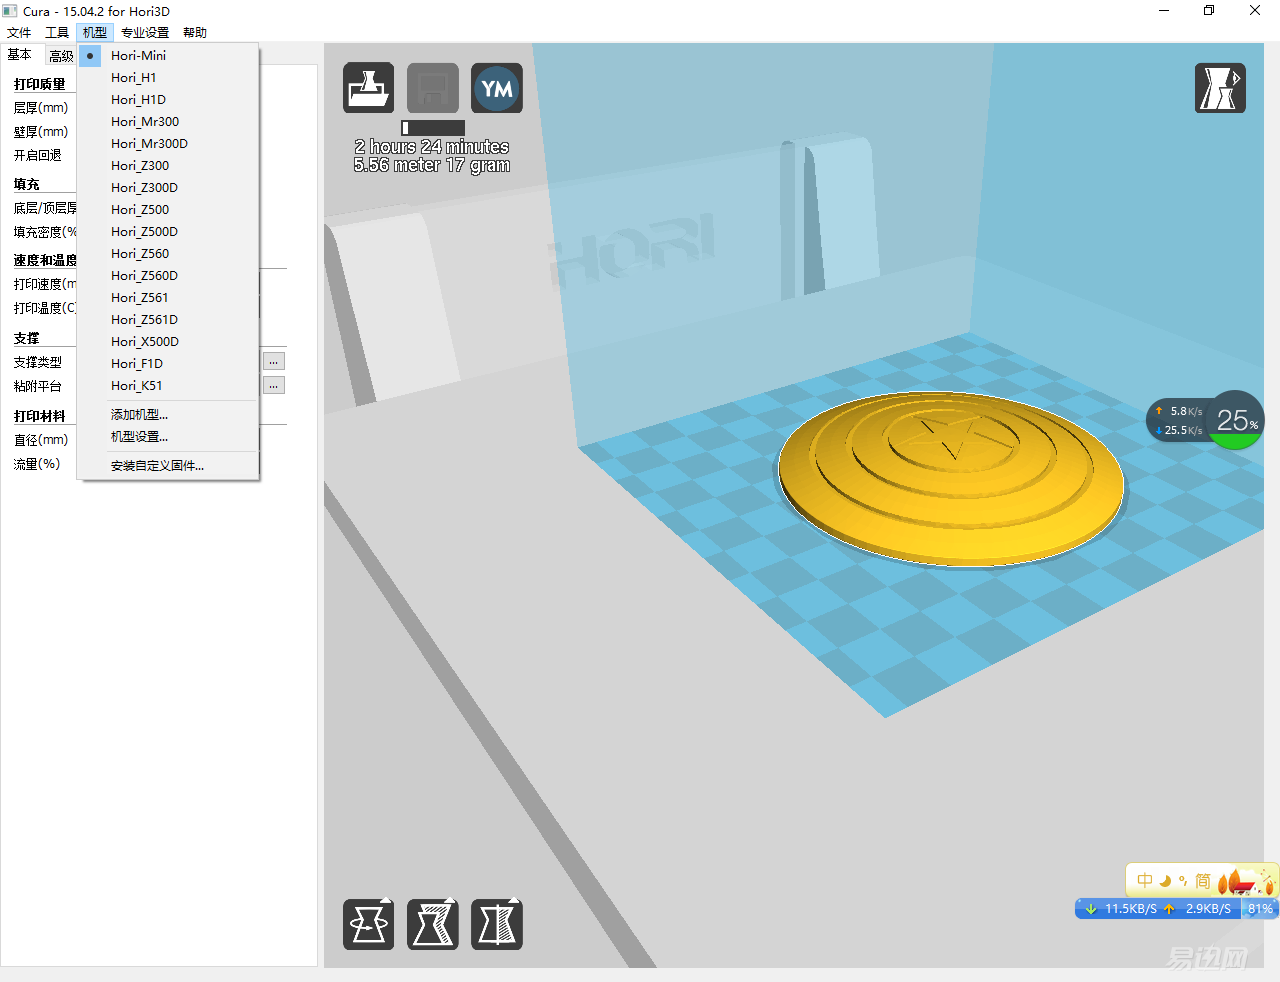
Well, everything works as usual... eh? How to print only 1/3 circle? There is an invisible border that covers the rest of the shield. After researching it, it seems that it is a problem with the setting of printing software. Shuiyue does not have a "select printer". The system default looks like a larger printer. Therefore, the printing area is actually beyond the Mini's type. The range.
Knowing the problem is much easier to handle. Immediately set the printer to the current Horimini printer. Sure enough, this time the printhead started to draw a circle directly and accurately in the middle of the platform, and then filled the circle and began to slow down. Print slowly.
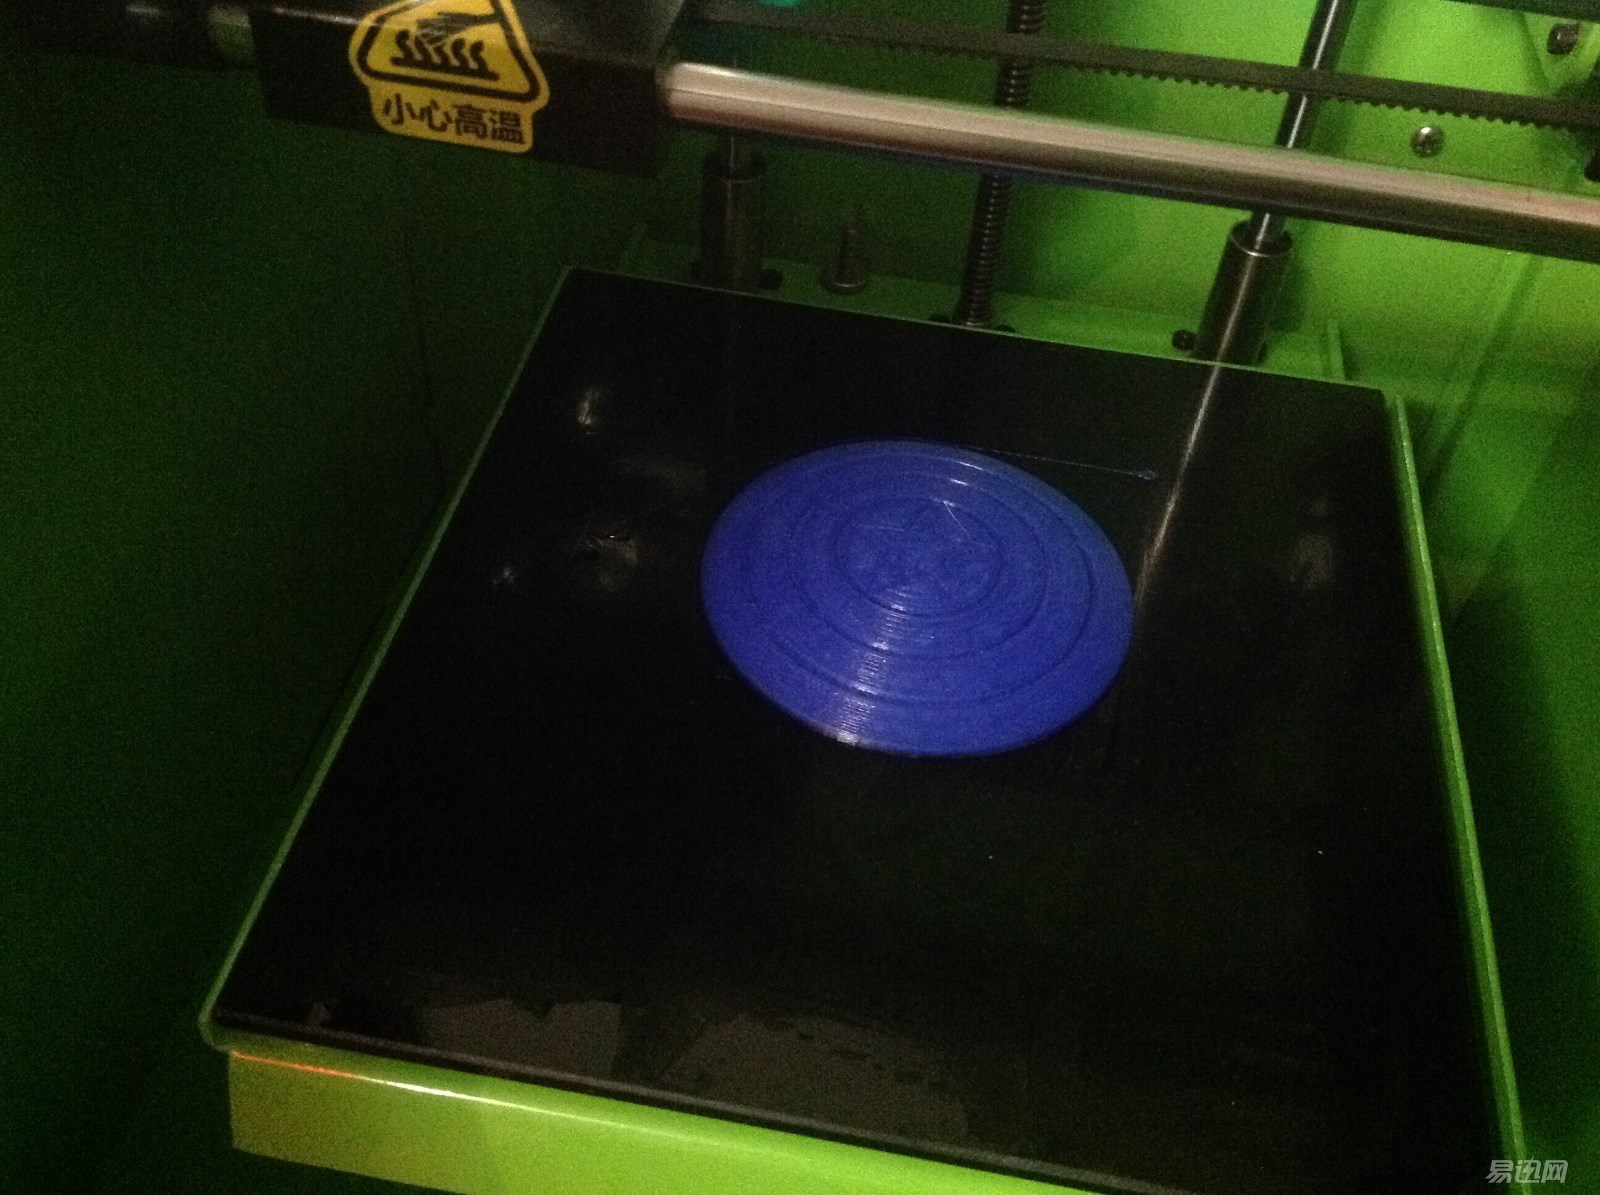
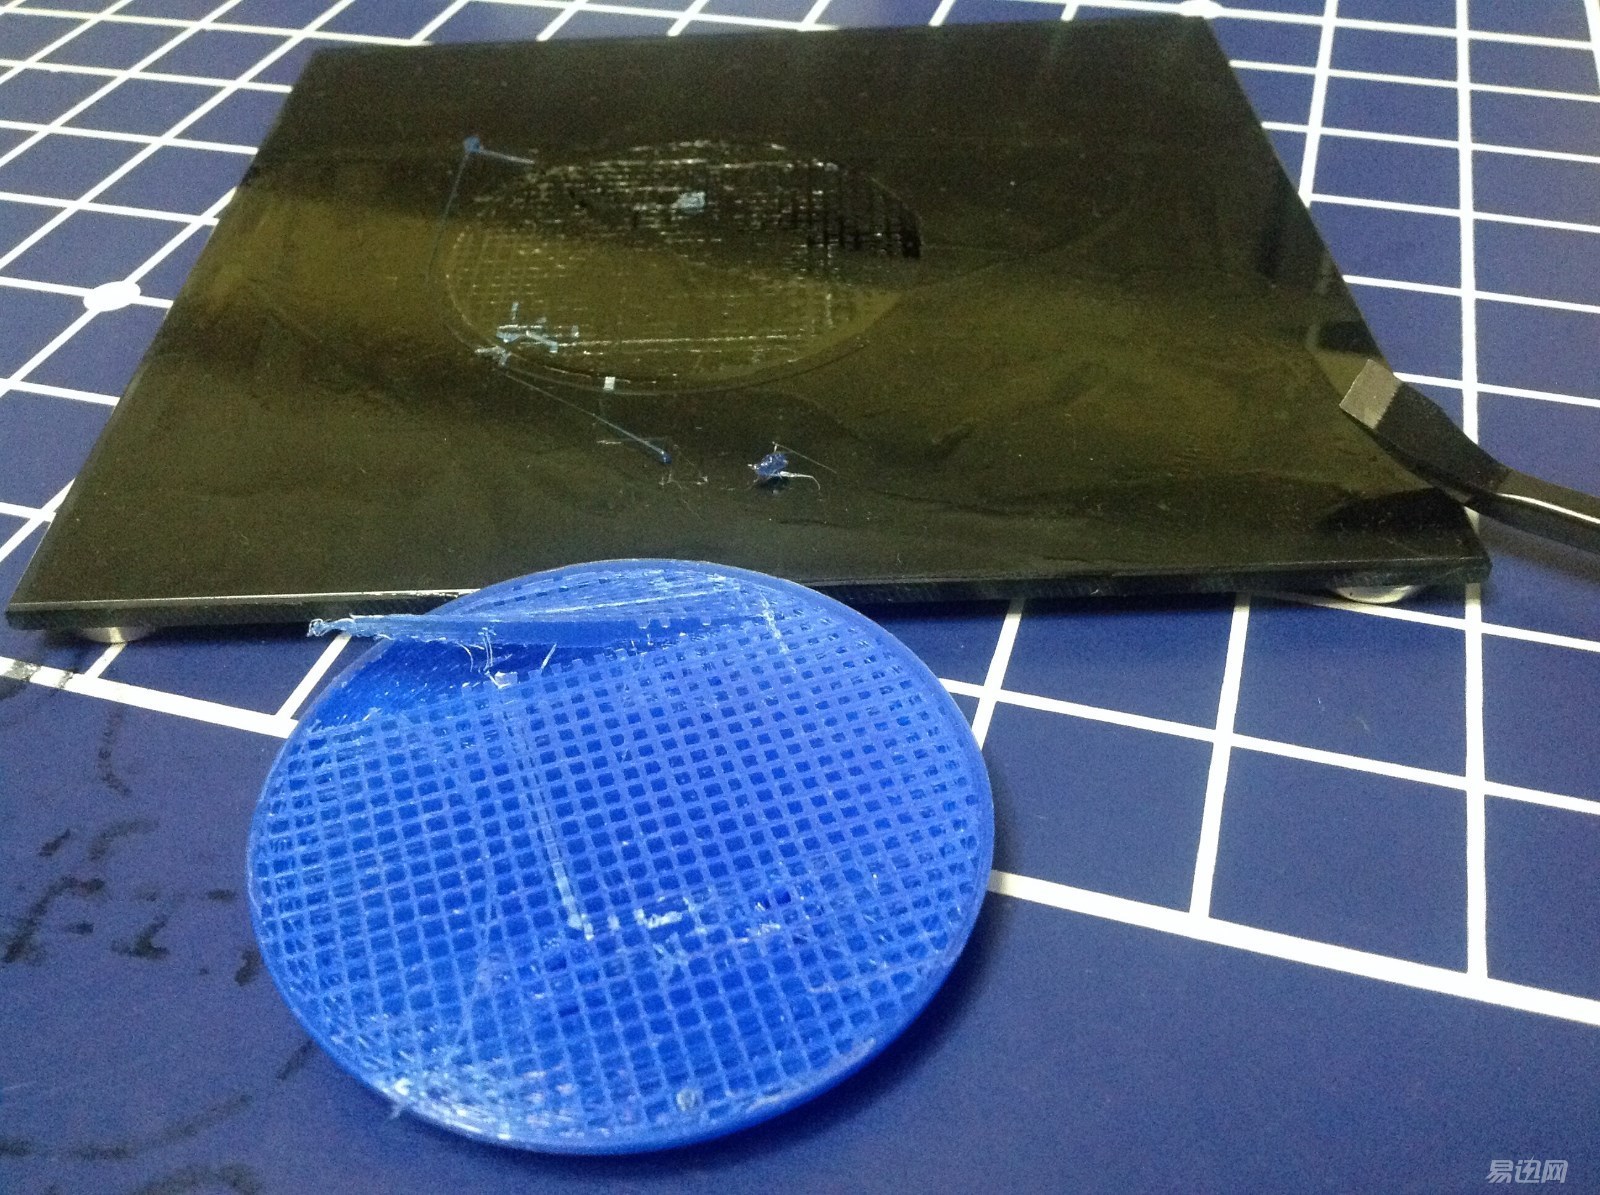
The effect of printing is still good, with lines printed on it, and there are many squares on the bottom of the shield. This is the support structure that the system automatically adds. Alas, to remove these redundant structures is a piece of cake for the Water Moon:
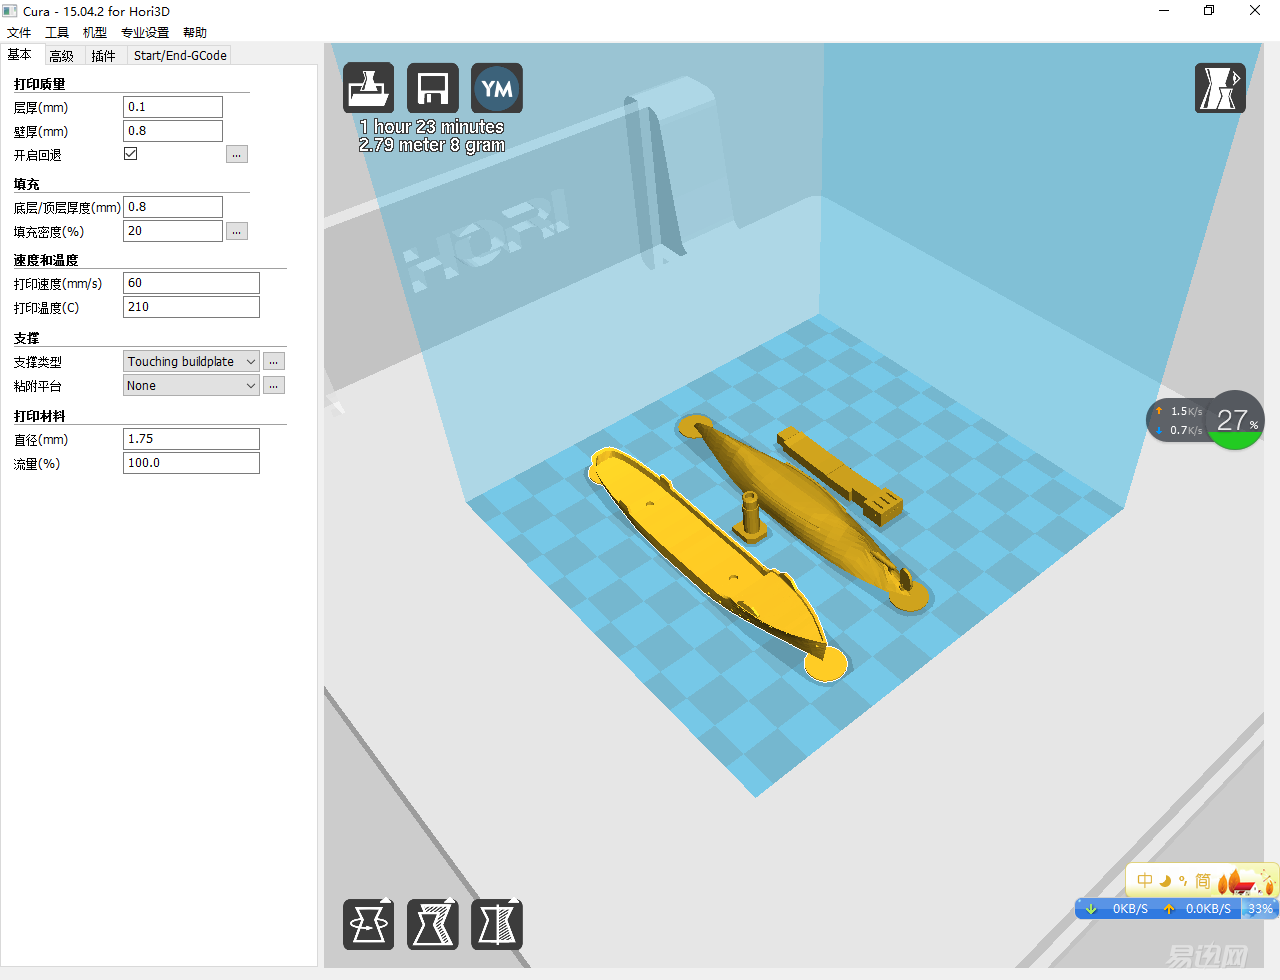
After these experiences and lessons, I immediately entered the 3D file of the "flower" class frigate that I had already prepared. This document is divided into four parts, namely the hull, the bottom of the ship, the superstructure and the chimney. After the row is finished, print it and watch the yellow line representing the temperature of the printer head approach the red line again. Then the familiar, music-like print sounds, the outline on the glass platform board slowly begins to form... ...soon, the printer's hair blew long and returned to its original position. The printing was completed!
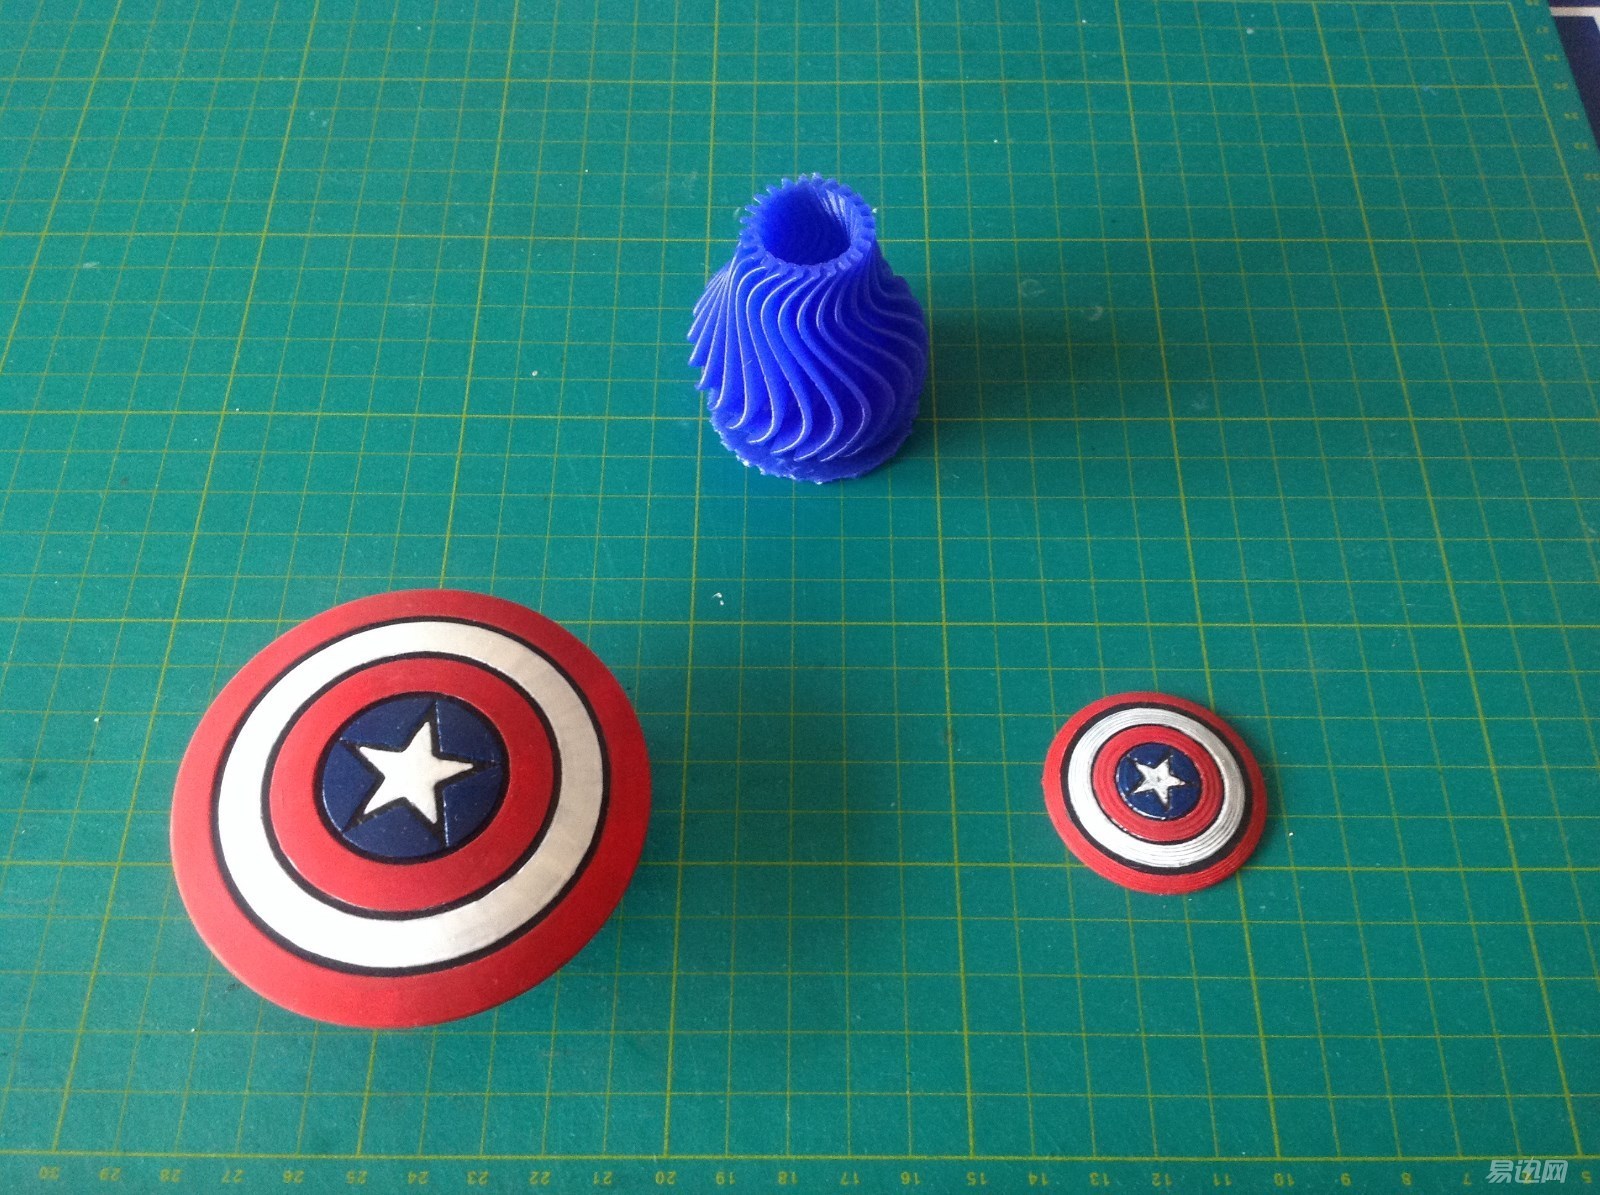
Let's put a photo of the currently printed sample together:
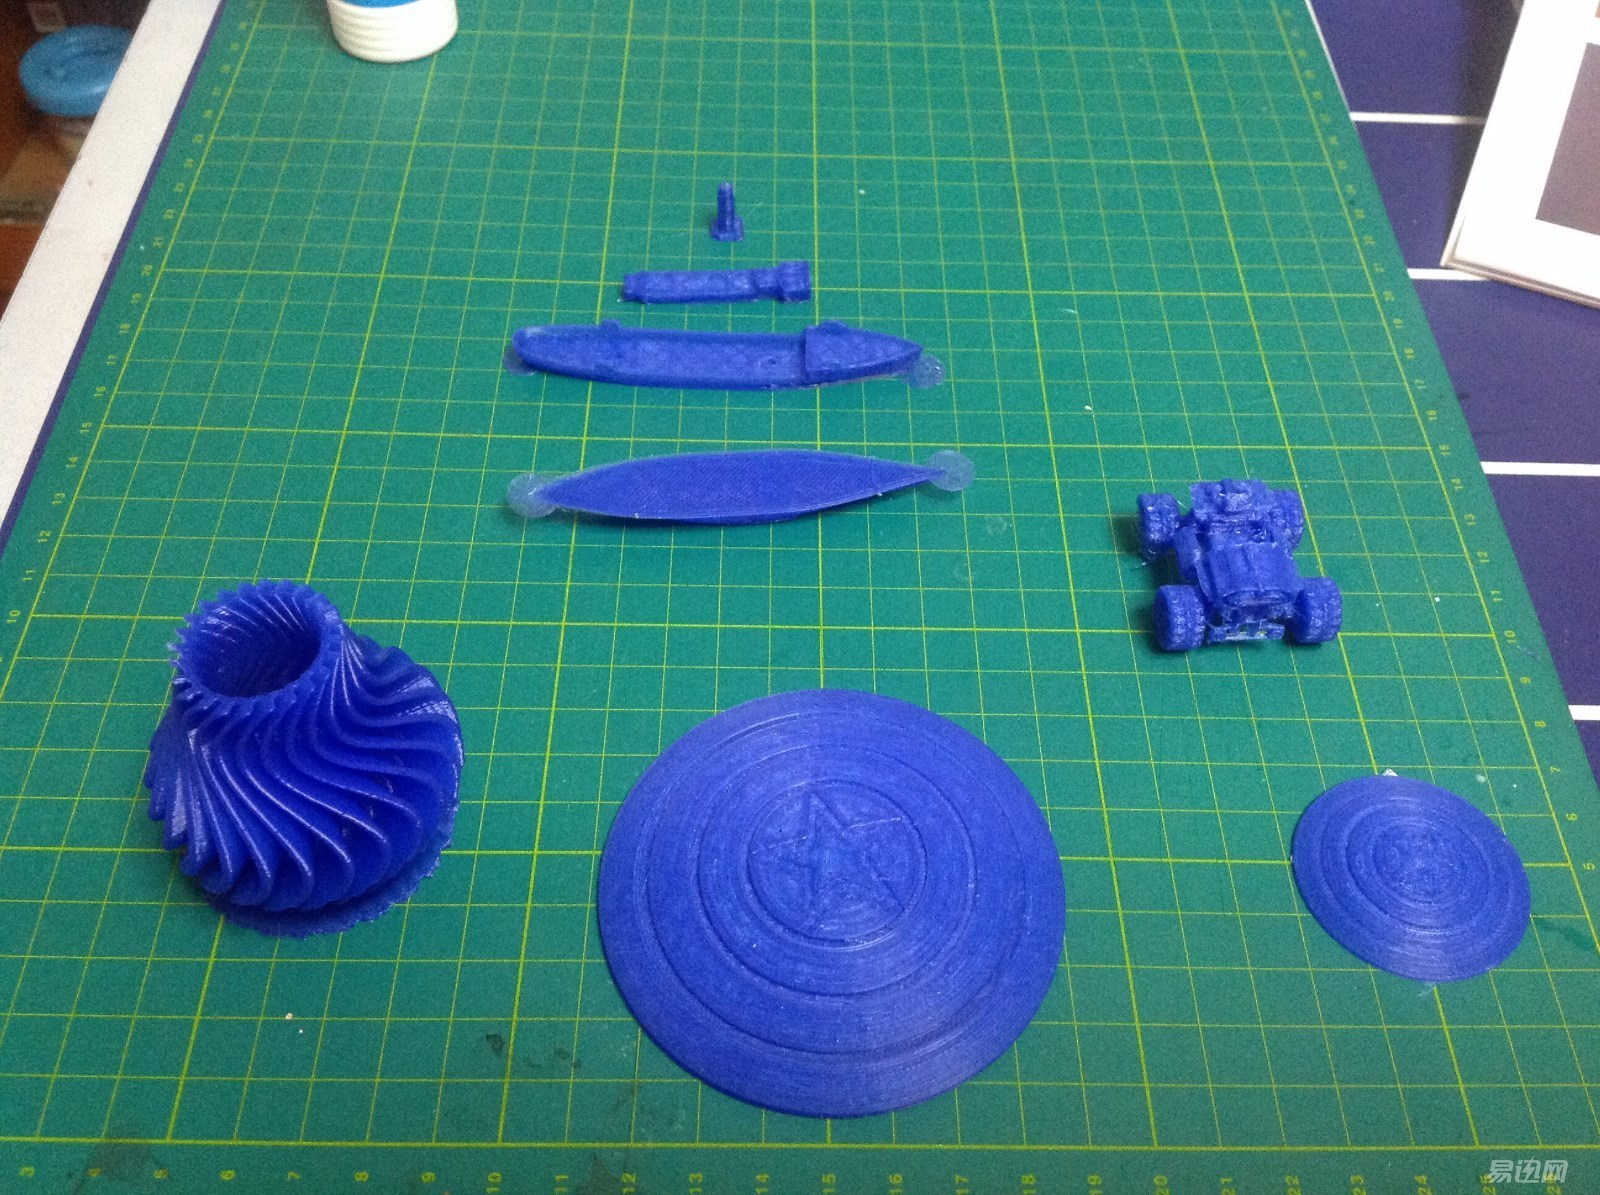
The Captain America's shield, after careful polishing of the water moon, was painted with AV black water. Haha, it was such a light (indentation, in fact, the print lines could still be seen, but the advantage of using black as the background color was to finish the rest. After the color, the black part is not so eye-catching:) Then manually paint with Tamiya water paint, and the final result is not bad.
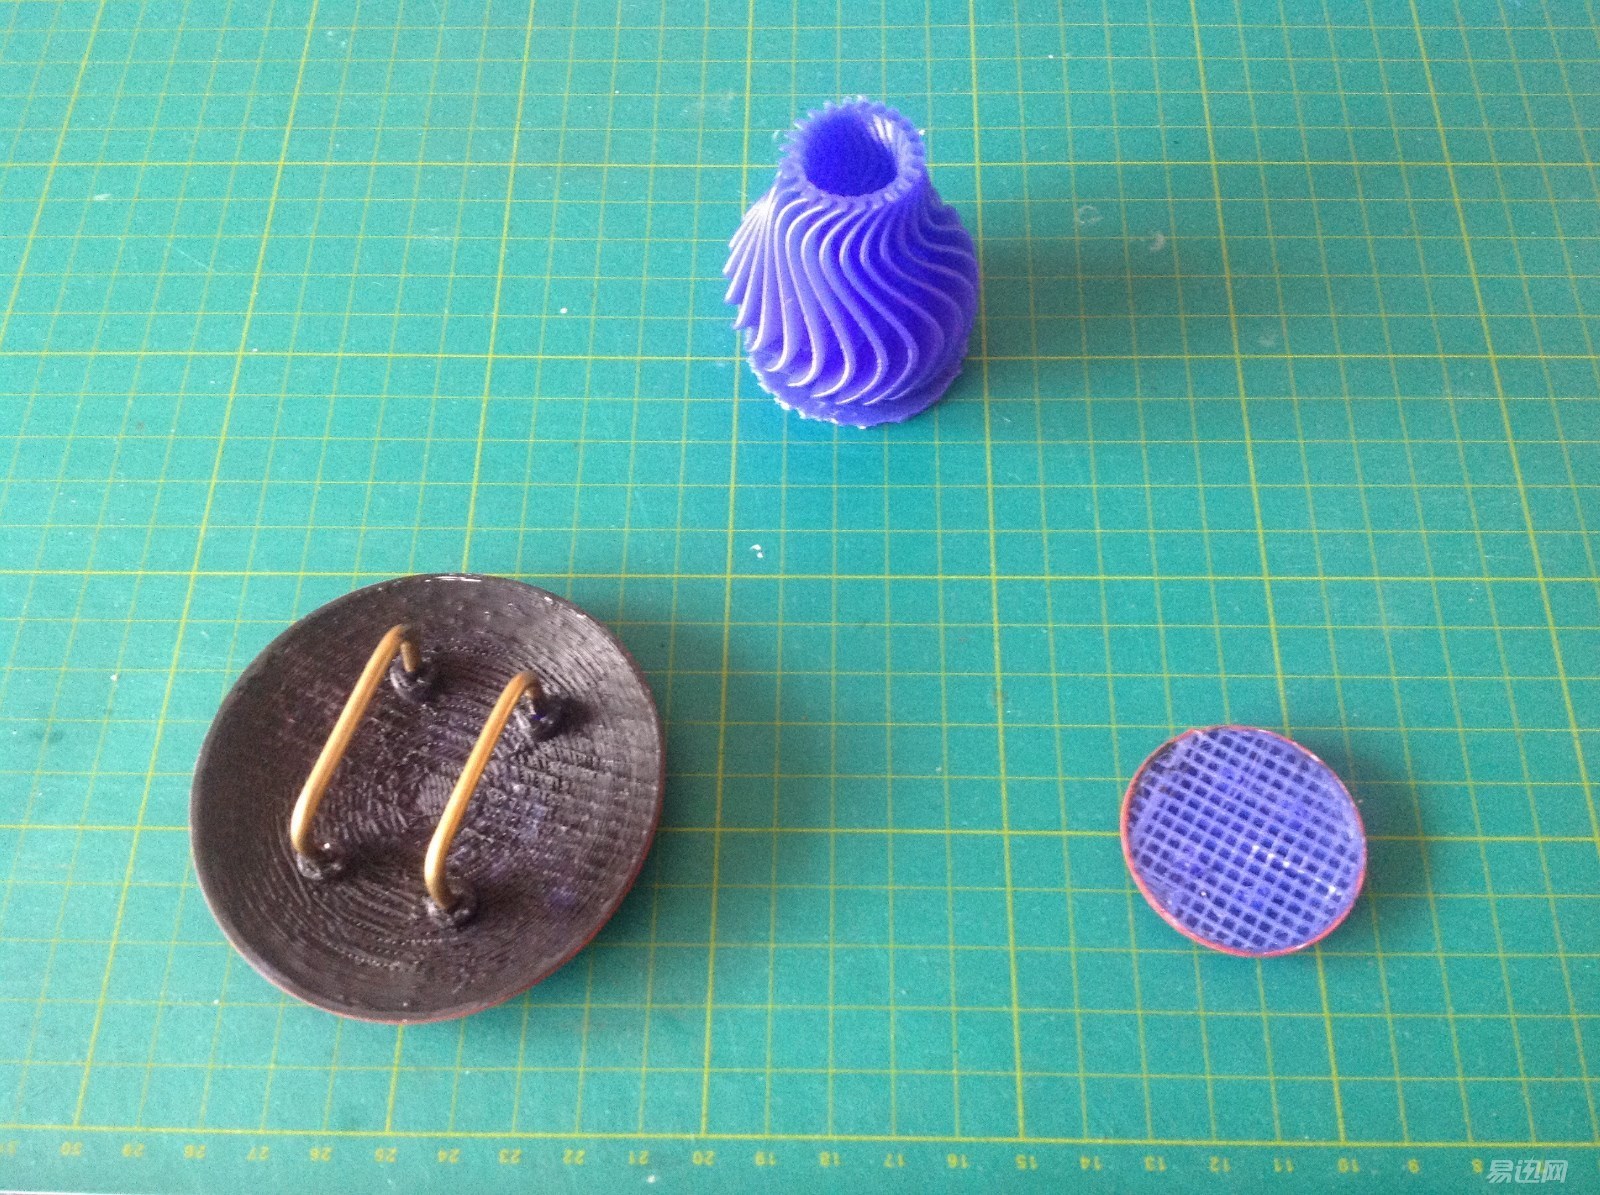
The shield's 3D file, on the other hand, was very close to leaving four protruding holes. Using 3MM copper rods to bend into two handles, to be installed, is it better to increase the number of B cells? Oh...
Next, we need to further challenge the performance of this machine.
First of all, we have to experiment with the surface effects of this machine to print a mannequin.
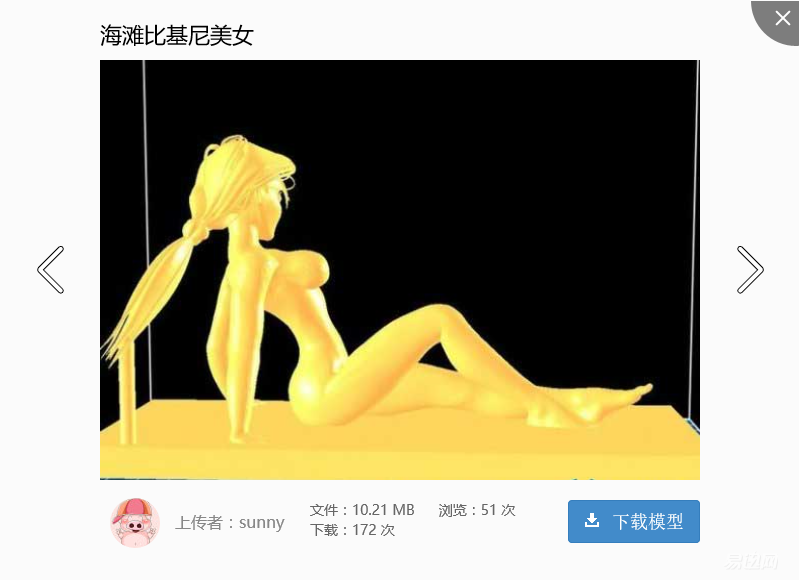
So, we downloaded this free model on Hori3D. Surprisingly, after entering the software, we found that the model was rather small, only a few centimeters long. So we boldly magnified it by 2 and 3 times and printed it together to make it. Further comparisons. (Huh? Why did you choose such a theme? Well, this can better reflect whether or not the surface is delicate, and... This is a popular theme for the masses:)
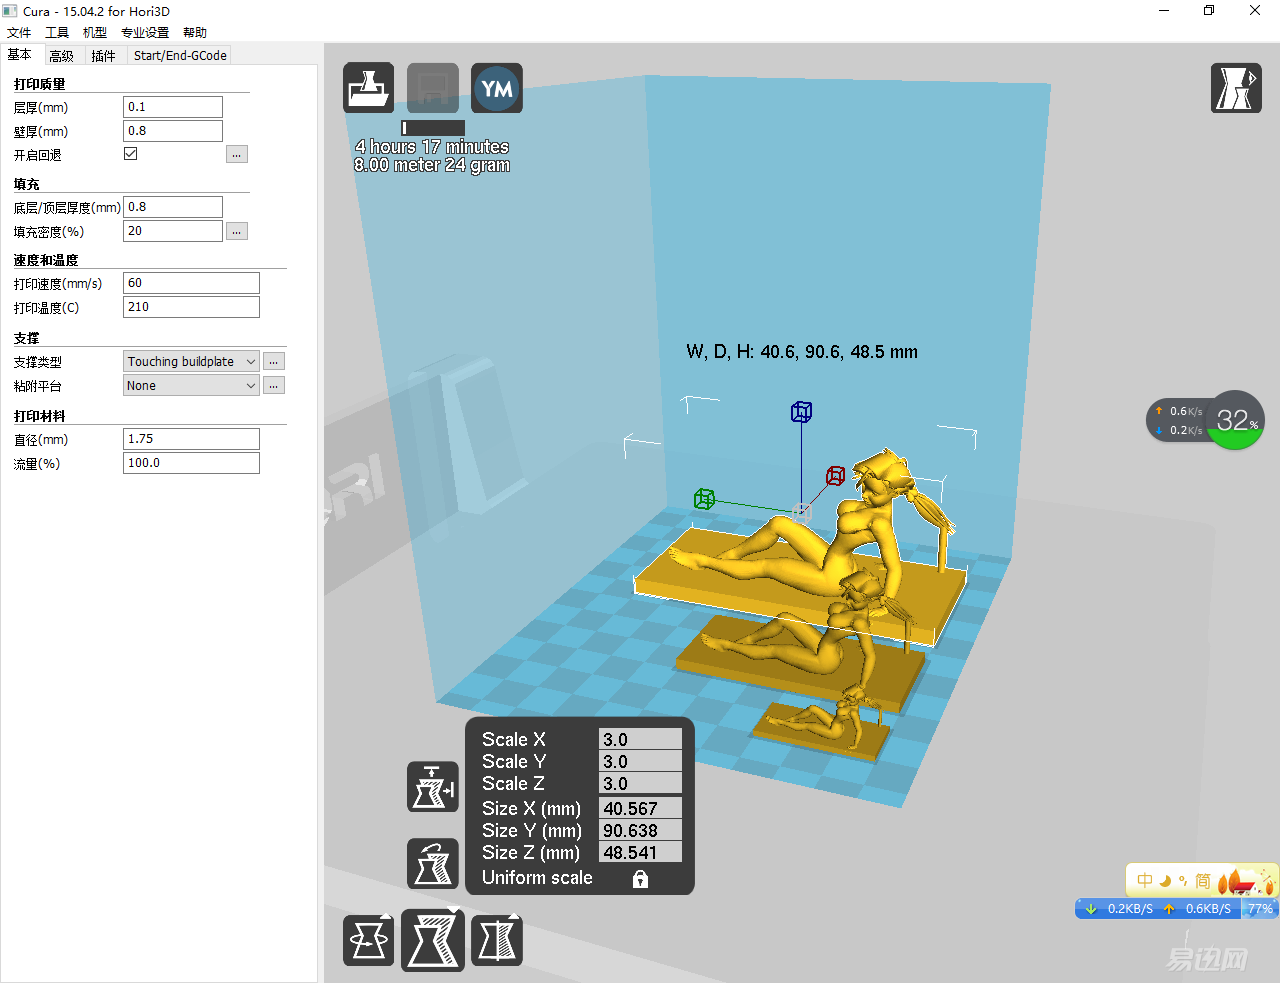
After entering the printer, we will see that several data are automatically displayed on the top of the system. The first data is the required print time. The following is the total length and total length of the material calculated based on the diameter of your printed material. weight. (If you do not have enough printable material, remember to add it in a timely manner. Of course, this time, a large volume of printing material that the manufacturer presented is enough to make a Transformer transformer armored dragon, saliva ... ... saying no one uploads a armored armor. Dragon pinch?)
The model was enlarged to about 3, 6, and 9 cm long, and the total length of the three models was 4 hours and 17 minutes. Because there were several printing experiences, after the printing started smoothly, Shuiyue checked the feeding material inlet. Smooth and well-stocked, it's so reassuring to happily go for food ~~~~Hori3D printer too:)
(The foraging process is not directly related to 3D printing, so 1 kiloword is omitted...)
After returning for food, the work of the Hori 3D printer has also come to an end. With the final printing on the top of the head, the platform automatically falls and the print head begins to cool down.

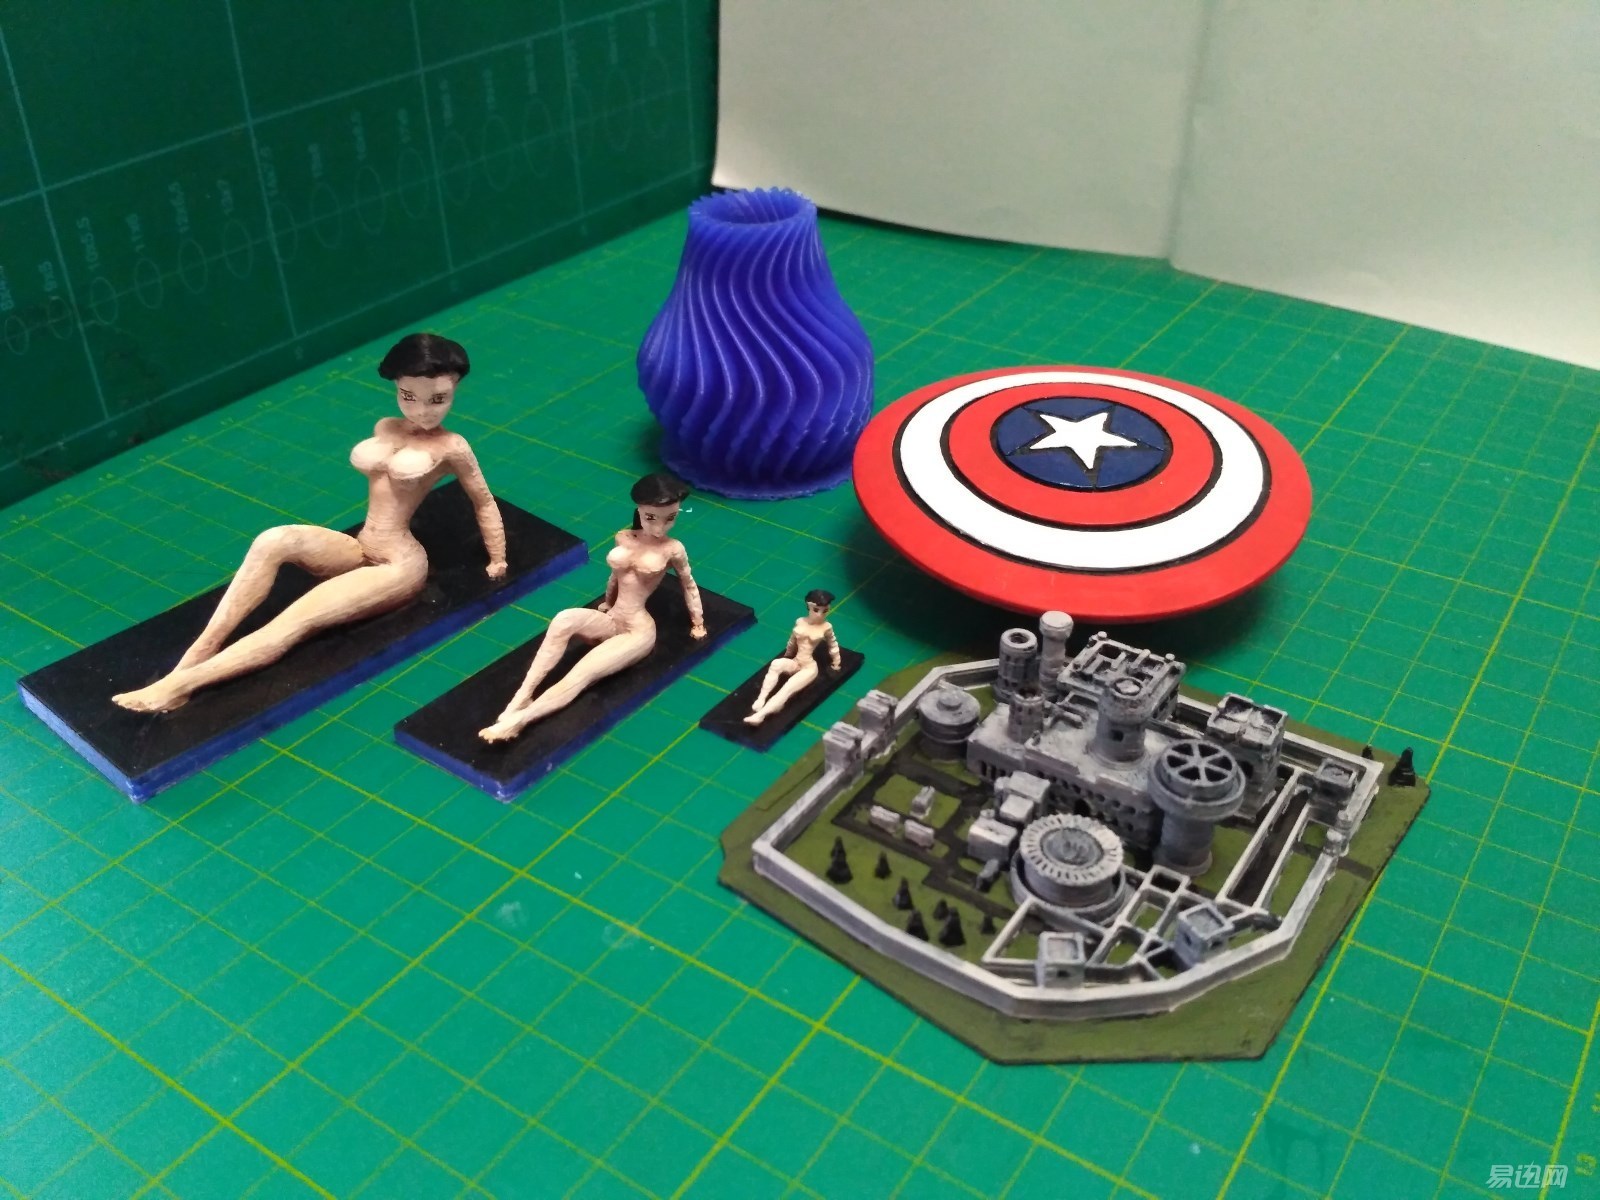
It can be seen that the original proportion of the beach beauty is too small, the layering 0.2mm is too thick on such a small scale model. And 2 times the size of this, I do not know how the matter, the head a lot of extra injection of material, the skin texture in general, or reflect a clear layered feeling. But three times the size of the skin surface is much more delicate, but I do not know why the whole part of the ponytail was dropped. (Is it too hard for me to squat? But it is not a big problem for me, just for myself DIY it).
Recently, "The Game of Rights" actually landed on CCTV. There is exactly a model of Winter City here, and I like it.
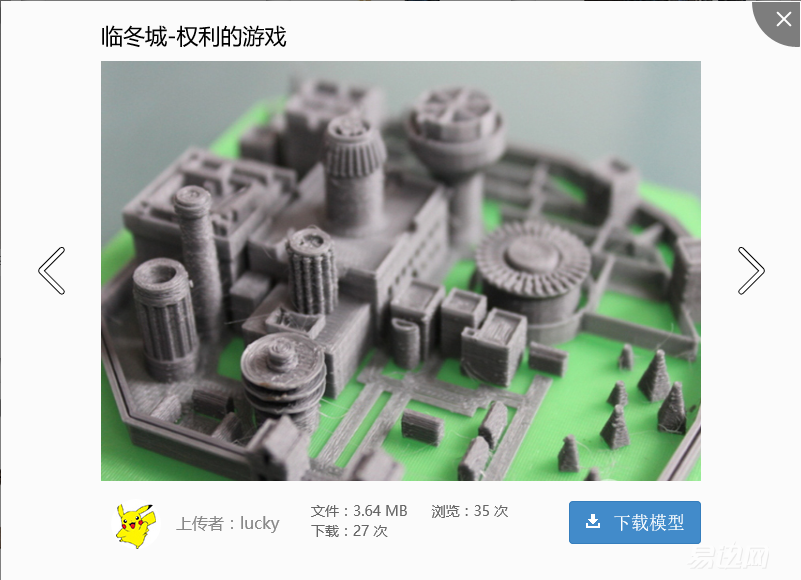
The effect is also possible. Trees, roads, and buildings are very clear, especially buildings are still hollow. Windows and doors have openings that look very refined.
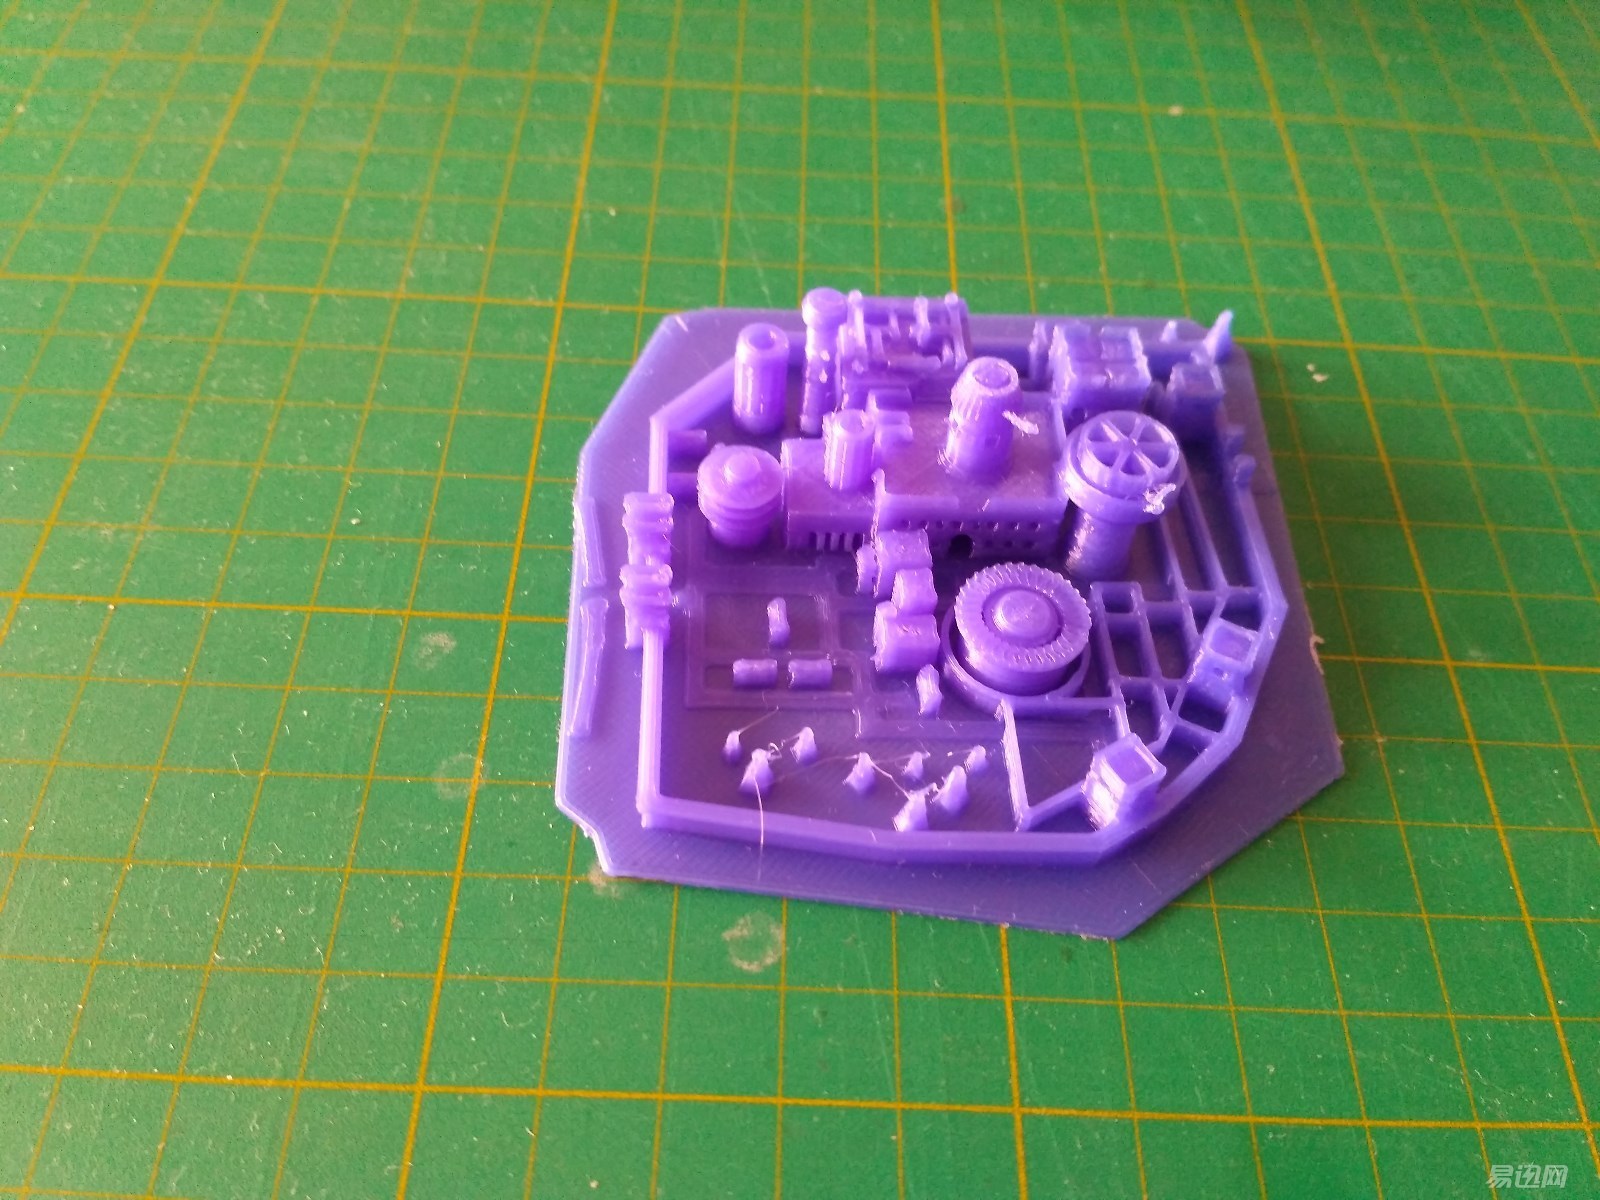
After removing the excess burrs, the water months were colored, the ground was green, and the building was first shaded with black and then painted with a gray wall. The effect was very layered, and the 3D printed lines just felt Very similar to stone wall seams:)
In the end, we compare the several successfully made bodies and finished products that we have done this time. Does it feel good? :)

(What? Where did you say that the small shield? Hey... After adding a good hand, he rewarded his son as a gift. Now belongs to him privately:)
Trial experience:
Hongrui's 3D printer, the Hori Mini, has a weight of 17KG and an empty weight of 16KG. The main weight comes from the iron-made casing. If you change to a lightweight engineering plastic, it will surely be lighter. However, there are also heavy benefits. The force of the print head is quite large. The heavier weight does not easily shift, and it provides a stable platform objectively.
The integration of the machine is very high. It can be easily run without excessive debugging. The machine can automatically add bracket printing to the 3D file automatically. It is not necessary for the player to design the bracket. This is very convenient for the novice.
It is quite simple and convenient to use. If the specification can be completely consistent with the machine, it must be able to get started faster.
The effect of printing is quite good, but note: If the print head lingers in the same position for a long time, the high temperature of the print head may melt the already printed part, such as the super high part of the water moon, this is the solution... Put a higher one next to it...
In addition, it is recommended that manufacturers set the data line interface behind, otherwise the front door cannot be completely closed when the data line is inserted, which is somewhat inconvenient.
When Shuiyue tried this Hori Mini 3D printer, it was lamented that the volume and noise level of the current 3D printer has been controlled to a considerable level, and its price is relatively affordable, and the price of around RMB 10,000 is for the model creators. It is a tool that is worth investing in. With it, you can make works that used to be handmade for a long time. The design is no longer brain burning and drawing a lot of drawings, only 3D modeling - printing - post-processing You can. With it, the image of China’s history will become concrete and at its fingertips...
If you want to score:
Portability: ★★☆☆☆
Ease of use: ★★★★★
Appearance:★★★★☆
Print effect: ★★★★★
Price: ★★★★☆