
Moon Switches Sound Test Recording
There are many factors to recording a high-quality mechanical keyboard sound test, but you also don’t want to overcomplicate it as at the end of the day it's just a recording of how your keyboard sounds. Today we are going to be going over some tips and tricks that will help you record the best sound test possible.
Microphone & Your Environment
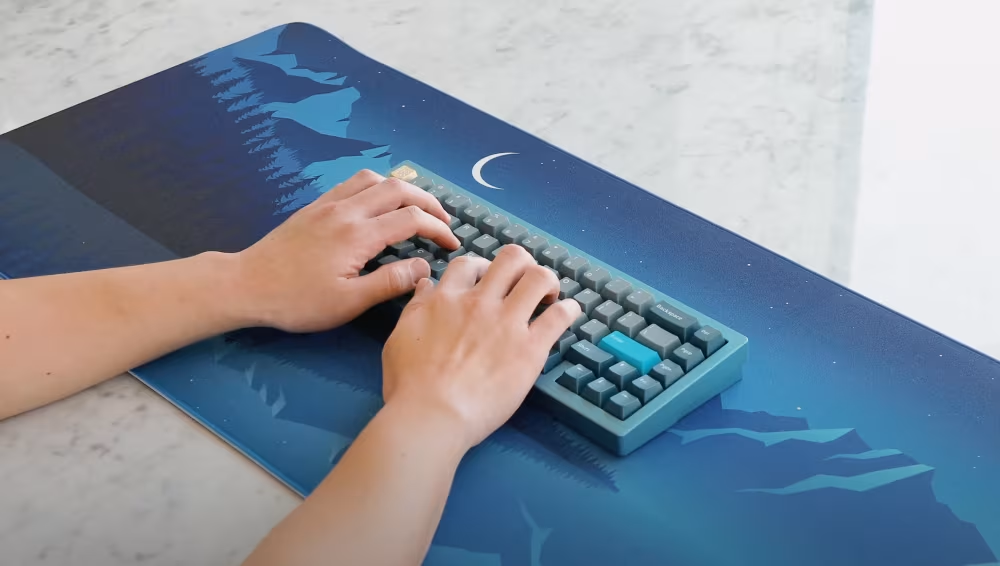
Desk Setup with Monitor, Keyboard, Microphone and Desk Mat
The first thing we need to go over involves the microphone itself and your environment. Ideally, you would want to be using a higher quality microphone that blocks out outside noise, but you also want to be in a quiet area as well. If you don’t have a high-quality microphone, don’t worry we can still work with it. Place the microphone on a stable surface or attach it to a boom arm and position it around 6-12 inches away from your mechanical keyboard. Using a pop filter can help reduce incoming wind noises or plosive sounds from reaching the mic. A shock mount can also help reduce vibrations and table noise when typing.
Recording
Audio-Technica AT4050 with TG67 V3 Recording
When it comes to recording audio, I recommend using Audacity as it will have all the tools you will need to edit the audio afterward. Make sure to clean your keyboard before recording and feel free to test different angles to see what sounds the best. Open up your favorite typing test website, mine is monkey type, and adjust how long you want the test to be. Once you are ready to go, click the record button and leave it running for about 4 to 6 seconds before starting (this will be important for editing). Record the typing test and do not forget to also show how all of your modifier keys sound individually as well. Once you are finished, listen to the audio and see if everything sounds good.
Editing


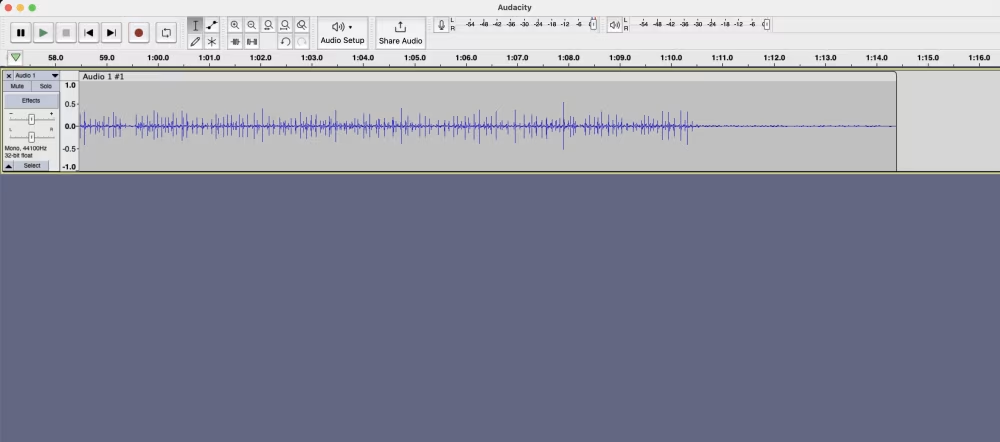
Screenshot of Audacity Interface
The most important part of this process is the editing. It is very important that you don’t over-edit as we are trying to make it sound as close as possible to hearing your mechanical keyboard in real life. If you are using Audacity, highlight the first 4 to 6 seconds of audio that we left silent, head on over to the effects tab, and click on â€Noise Reduction. Once you are at the pop-up screen, click the button that says “Get Noise Profileâ€. Once you click that, the window will close.
Now go ahead and double-click the whole audio recording and head back to the “Noise Reduction†tab under effects. Depending on how much noise you have in the background, you might need to make the filter stronger or weaker, but remember, you don’t want to make it too strong as it will then sound over-edited. Try it with the default settings first by just clicking the “OK†button. Once you click “OKâ€, Audacity will apply the filter to the sound test. Feel free to give it a listen and see if any changes need to be made. If everything sounds good, then feel free to export your audio.
At the end of the day, a sound test is not going to be super accurate as a lot of factors come into play like background noise, filters, what EQ settings your mic has, and many more. The main purpose is to try and show people how your mechanical keyboard sounds as if they were listening to it in person. If all of this sounds like too much work, don’t worry, simply recording using your phone can also get the job done as well.
Take a listen at this sound test taken methods outlined in this post for a sound test using the CF81 Mechanical Keyboard as well as Husky Linear Switches and Moon Linear Switches:
Fire Resistant Network Cable is the most commonly used twisted-pair cable flame retardant grade, its test standard is UL 1581.
So the CM level cable fire characteristic is as follows: not spontaneous combustion; In the flame will smoke, and may appear flame; The speed of flame spread along the cable is very slow; When the external fire source is cut off, the fire on the cable will gradually go out.
CM class cables do not take into account smoke density and toxicity (no mention of smoke density and toxicity in UL 1581) as long as they meet flame retardant rating requirements.Cm-level cables are mostly horizontal twisted-pair and are used in wiring subsystems.The sheath layer of CM class cable is mostly PVC material, while the insulation layer is high-density PE material.The advantage is that it is cheap, while the disadvantage is that the ignition point is low, the normal operating temperature is below 70℃, when the temperature reaches 160℃ or higher, THE PVC material will emit toxic halogen and smoke.
If you burn it, you release a lot of heat.According to the code of construction for integrated wiring, twisted pair wires shall be laid through metal pipes and behind metal Bridges in floors, ceilings and walls.In this case, the use of ordinary twisted-pair wire can be installed in any situation without concern for smoke and toxicity.

Fire Resistant Electrical Wire,Fire Resistant Network Cable,Fire Resistant Cat6 Cable,Fire Resistant Electrical Cable
Shenzhen Kingwire Electronics Co., Ltd. , https://www.kingwires.com